Overview
You are required to track attendees for hosted meals or events. Depending on the number of attendees, there are different options for documenting who attended.
Review the procedure in its entirety or click a link below to learn about a specific option for recording attendees for a hosted meal/event.
Important Information
For Hosting expenses, the Business Purpose Category (required), Business Purpose Details (required), Comments, and Department Reference fields may be used to provide additional detail about the meal/event. For more information, see Concur Expense Report Key Fields and Use of the Details Menu.
This procedure assumes you know how to create an expense report and enter/import expense lines into the report. For complete instructions, see Create and Submit a Concur Expense Report. This procedure begins each example at the point you enter attendees for the Hosting expense.
Step-by-Step Process
Add Attendees (Fewer than 10)
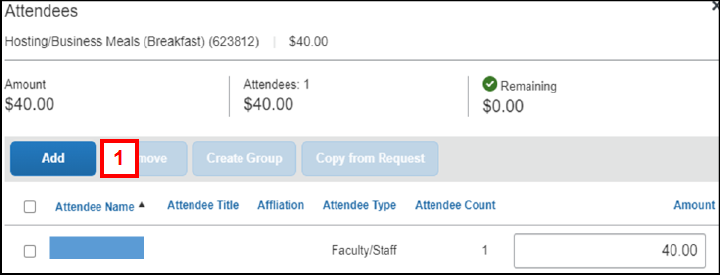
The Hosting Meals (Breakfast/Lunch), Hosting Meals (Dinner), and Hosting Alcoholic Beverages Expense Types display the Attendees link in the top left of the expense pane. This link allows you to:
- Add a New Attendee (i.e., person who has not attended a meal/event hosted by you previously).
- Enter an individual from your Favorite Attendee list in your Expense Profile.
- Search for and select a person from Favorite Attendee list or Recent Attendees.
To add a new attendee:
Note: Your name automatically appears in the attendee list.
- Click Add.
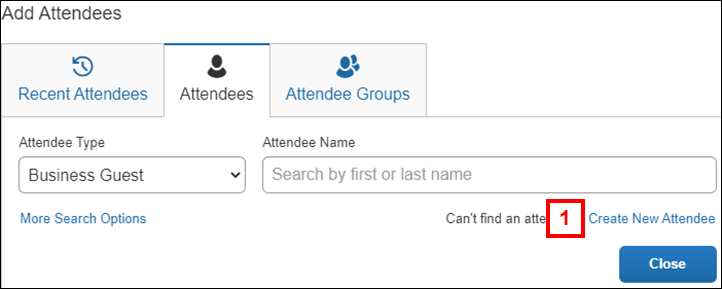
- Click the Attendees tab.
Edit Attendee Details Screenshot

- Click Create New Attendee.
- Select the Attendee Type from the drop-down list.
Create New Attendee Screenshot
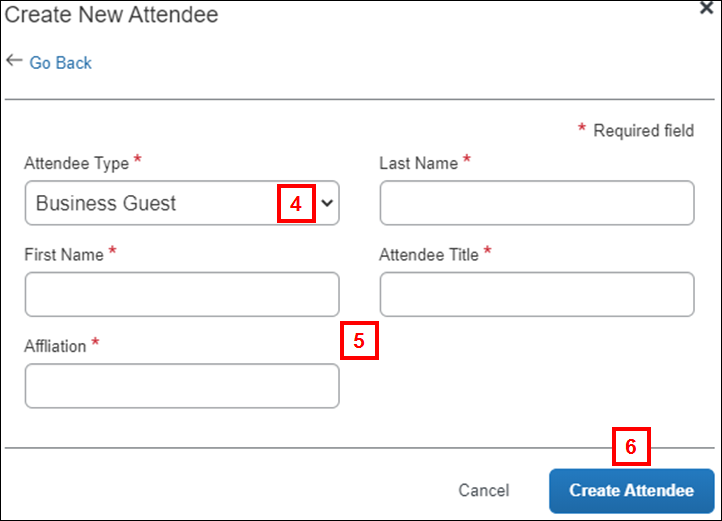
- Enter the Attendee Details as appropriate:
- Last Name
- First Name
- Attendee Title (if applicable)
- Affiliation (if applicable)
- Uniqname (if applicable)
- Department (if applicable)
- Click Create Attendee to save a single attendee and then exit the pop-up, or fill out the form again to add additional attendees.
Note: The fields in the Create New Attendee pane vary depending on the selected Attendee Type.
Note: All attendees added on an individual basis are saved as Favorite Attendees in your Expense Profile.
When finished adding attendees, go to step 18.
To add an attendee you have hosted previously:
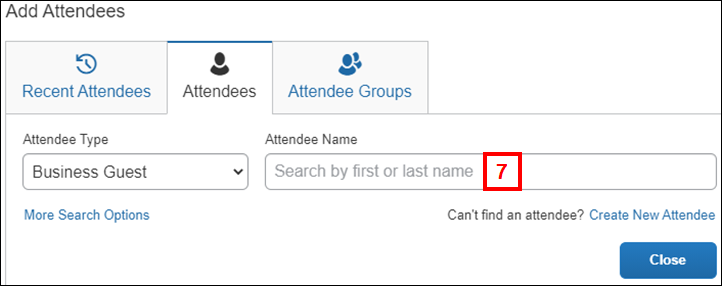
- On the Attendees tab, enter the first or last name of the individual in the Attendee Name field, and then select the name from the resulting list of values.
OR
- On the Recent Attendees tab, click Search All Attendee History to open the Favorites list.
Recent Attendees Tab Screenshot

- Check the box next to the applicable attendee(s).
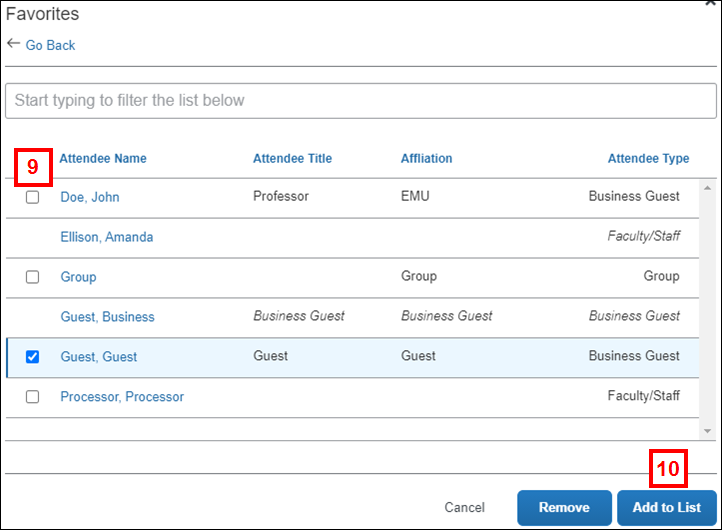
- Click Add to List.
When finished adding attendees, go to step 18.
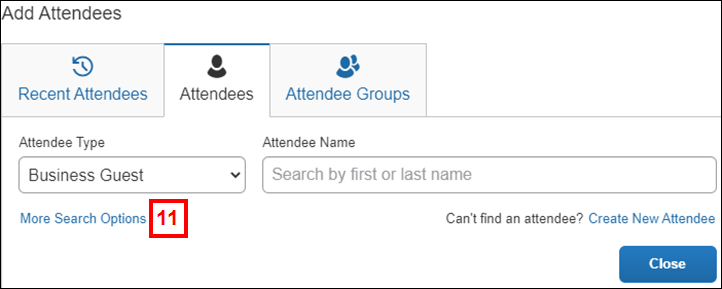
To add attendees from a directory:
- On the Attendees tab, click More Search Options.
- Select an Attendee type from the drop-down list.
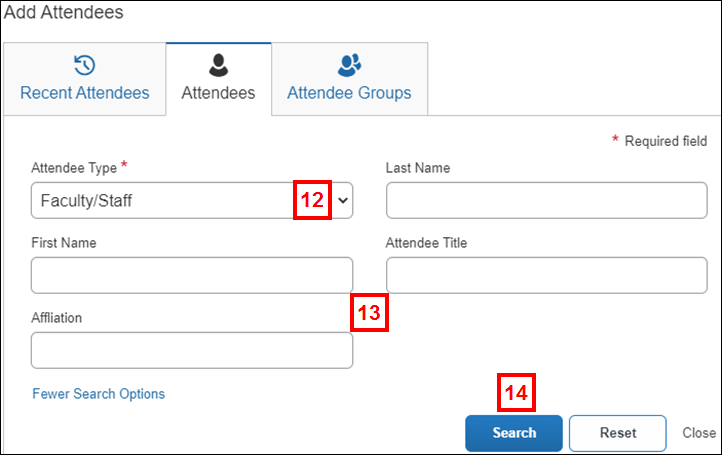
- Enter applicable search information in the following fields:
- Last Name
- First Name
- Attendee Title
- Affiliation
- Click Search.
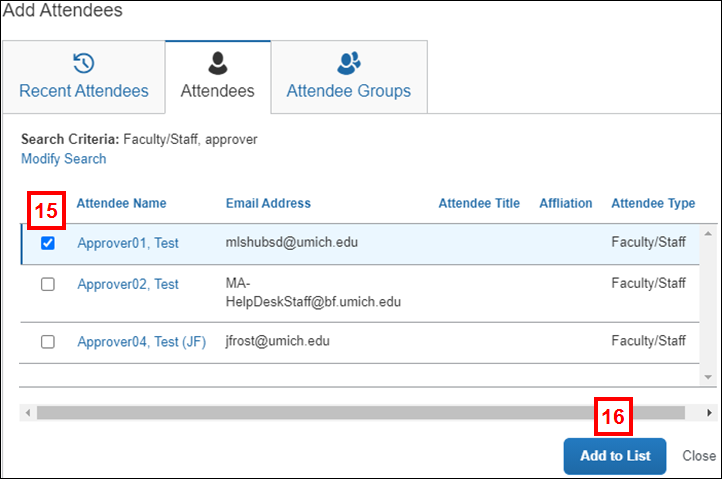
- Check the box next to the applicable attendee(s).
- Click Add to List.
- Click Close.
- After all attendees have been found, they will appear under in the Attendees list. Check the box next to the applicable attendee(s).
Note: Regardless of how attendees were added, they appear in the Attendees list.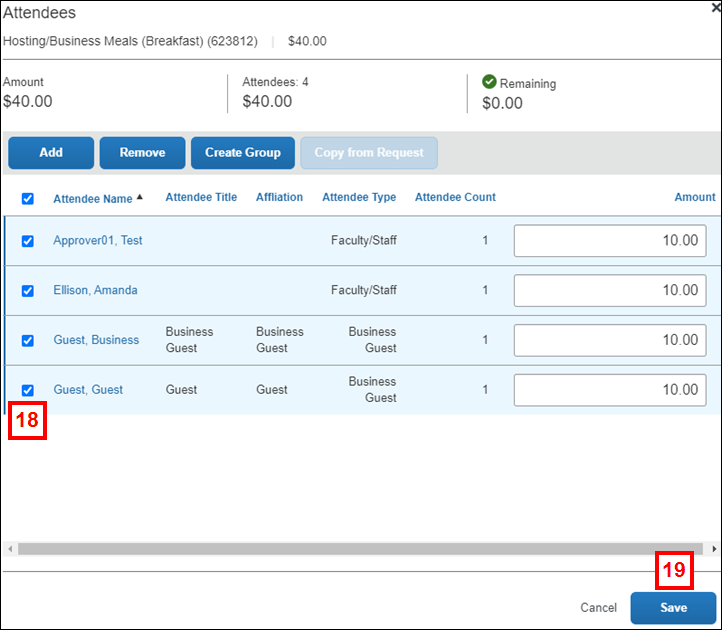
- Click Save to add them to the report.
Steps 20-23 are optional. To create a group for this list of attendees to use in the future:
- Check the box next to each attendee name.
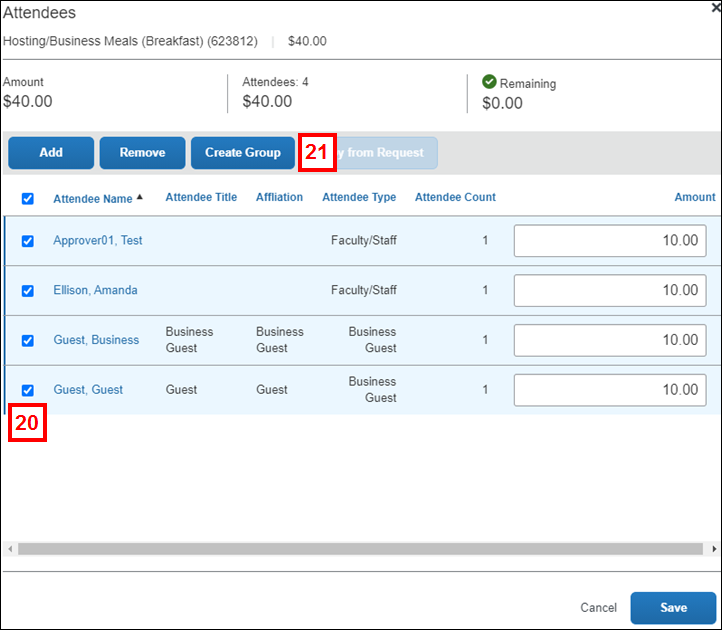
- Click Create Group.
- Enter a Group Name.
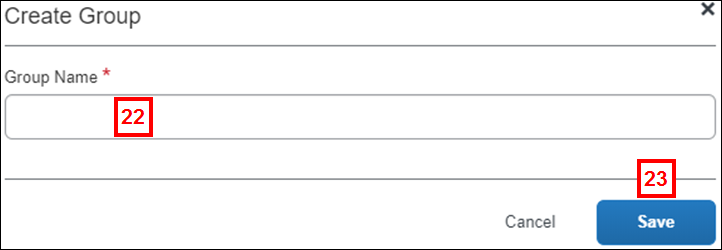
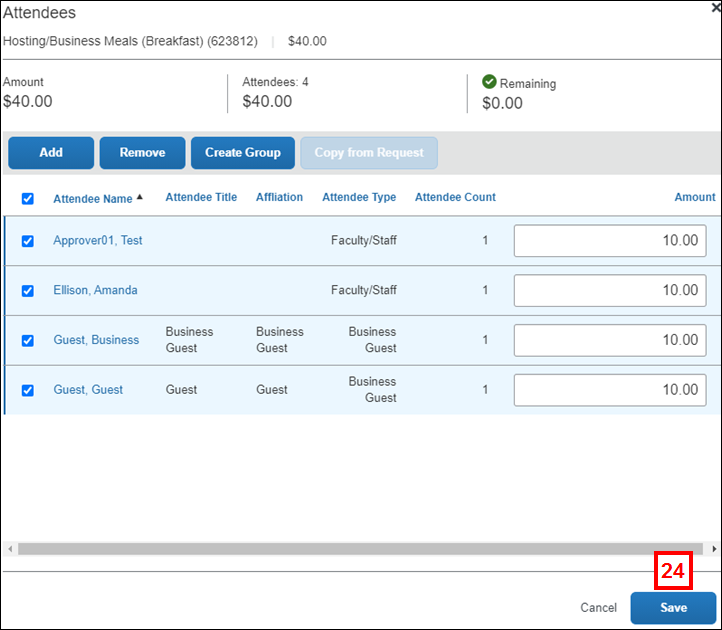
- Click Save.
Note: When creating expense reports in the future, you can add attendees using the group name. This will list each individual from this group as attendees. You can also share this group with other U-M employees (instructions are provided in the Attendee Groups section of this procedure). - Click Save.
Add Attendees (10 or more)
To record a group of attendees (10 or more) without entering each attendee individually, add the group as a single attendee line item and then fax/attach the list of individuals as supporting documentation for the expense.
Note: Your name automatically appears in the attendee list. If applicable, delete yourself as an attendee.
- On the Attendees tab, click Create New Attendee.
- Select Group from the Attendee Type drop-down list.
Create New Attendee Screenshot
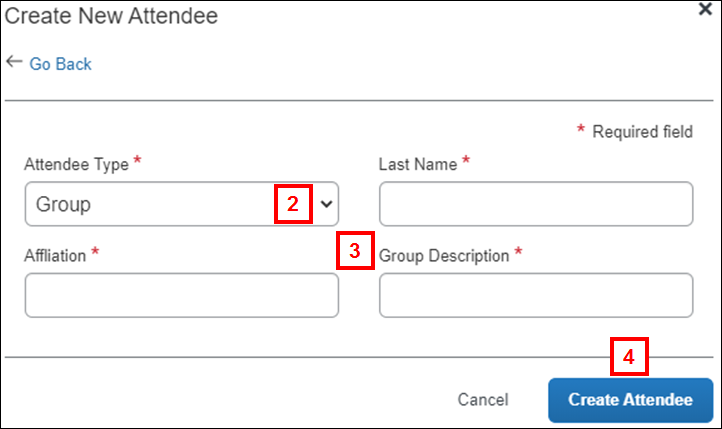
- Enter the Attendee Details:
- Last Name (name of the group)
- Affiliation (name of the university, organization, or business associated with the hosted event)
- Group Description (business purpose for the hosted event)
- Click Create Attendee.
Note: The group is saved in your Favorite Attendees list in your Expense Profile. - Enter the number of attendees in the group in the Attendee Count field.
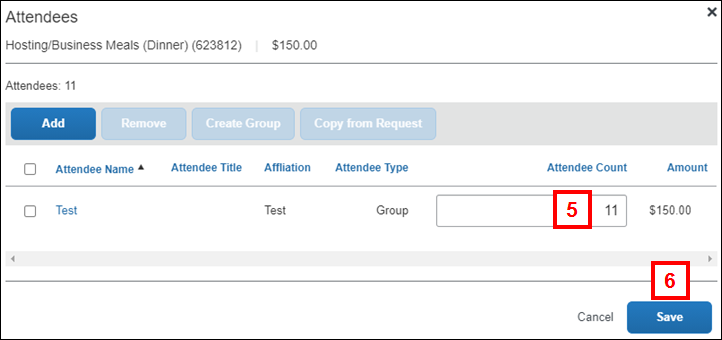
- Click Save.
View Attendees on an Expense Report
- In the Expense pane, click Attendees under an Expense Type.
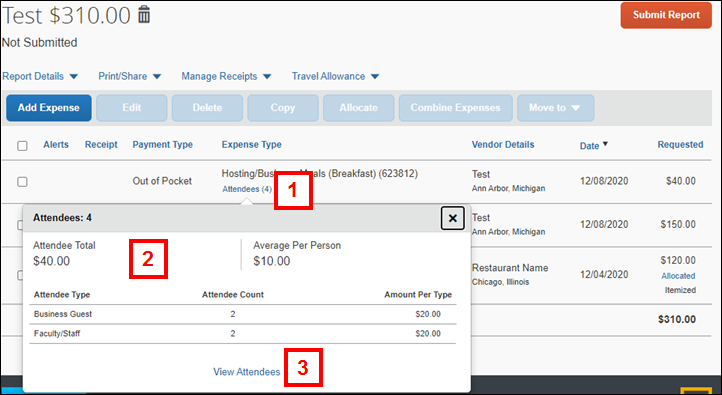
- A pop-up will appear displaying the Attendee Total, Average Per Person, Attendee Type, Attendee Count, and Amount Per Type.
- To view a list of the attendees attached to this expense, click View Attendees.
Attach/Fax Attendee List
The Group Attendee Type value requires you to submit the list of attendees using the same functionality used to attach/fax a receipt to the expense report. For complete instructions, see Manage Receipts for a Concur Expense Report.
Manage Favorite Attendees
Using the Favorites tab is optional. Any attendees added in an expense report “on the fly” are automatically saved to your Favorites list.
Deleting an attendee from the list associated with a particular hosting expense line does not delete the attendee from your Favorite Attendees pane in your Expense Profile.
To add a favorite attendee:
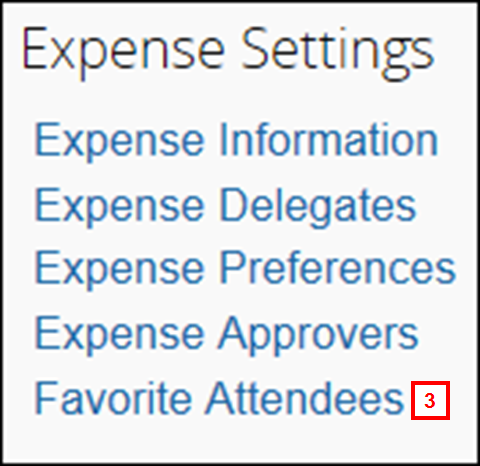
- Click Profile Settings.

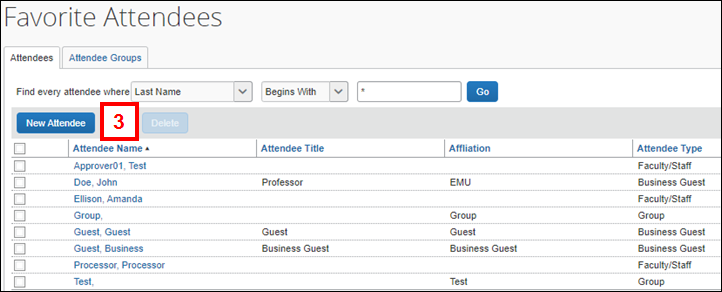
- Click Favorite Attendees under Expense Settings.
- Click New Attendee.
- Complete the fields in the Add Attendee pane.
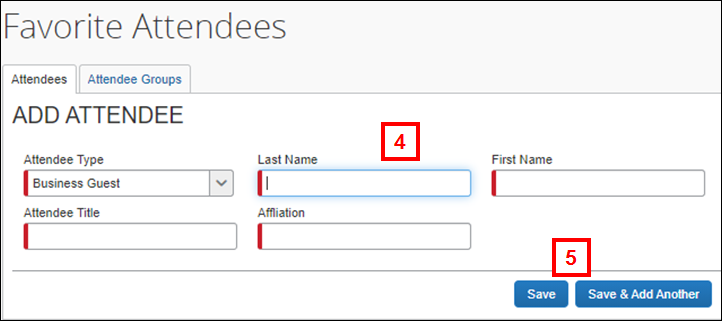
- Click Save to save a single attendee,
OR
Click Save & Add Another to add additional attendees.
To delete a favorite attendee:
- Check the box for the attendee(s) you wish to delete.
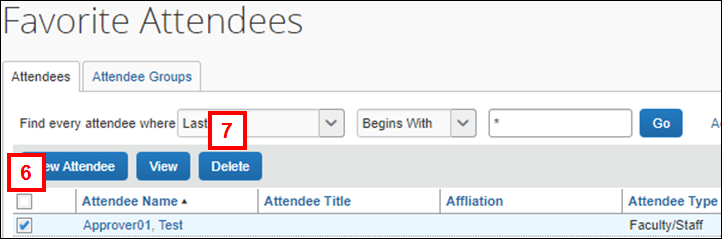
- Click Delete.
- Click Yes to confirm.
Attendee Groups
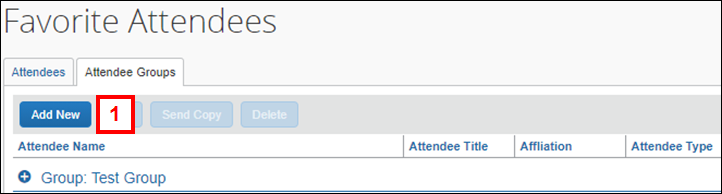
To add an Attendee Group:
- Under the Attendee Groups tab, click Add New.
Attendee Groups Tab Screenshot
- Check the box for the attendee(s) you wish to add as a group.
Note: Attendee Groups may also be created from the Attendees tab in the Create New Attendees pop-up box.Attendee Groups Tab Screenshot
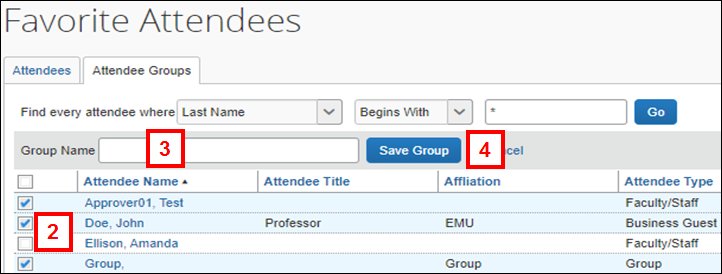
- Enter the group name in the Group Name field.
- Click Save Group.
To delete an Attendee Group:
- Under the Attendee Groups tab, click on the group you wish to delete.
Attendee Groups Tab Screenshot
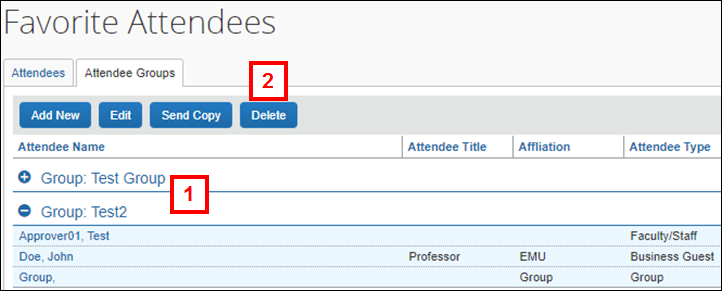
- Click Delete.
- Click Yes to confirm.
To send a copy of a group:
Note: You can send a copy of your group to another employee to use in their expense reports. The group (and all individual attendees within the group) is added to their Favorite Attendees list. Any updates made to the group will not be reflected in the other employee’s group list.
- Click Profile.
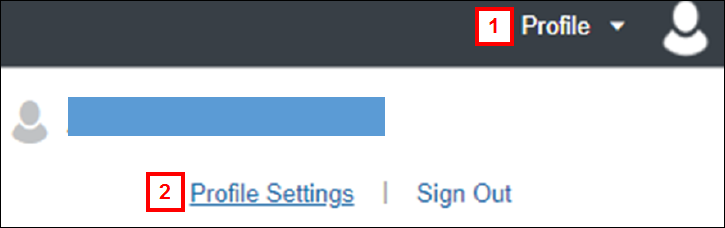
- Click Profile Settings.
- Click Favorite Attendees.
- Click the Attendee Groups tab.
Attendee Groups Tab Screenshot
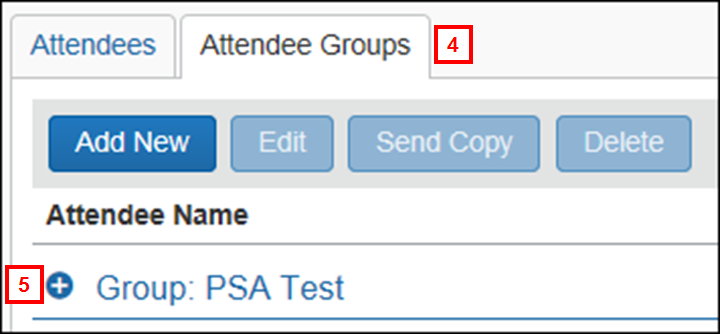
- Click the expand button next to the group name to see a list of attendees.
- Click the group name.
Attendee Groups Tab Screenshot
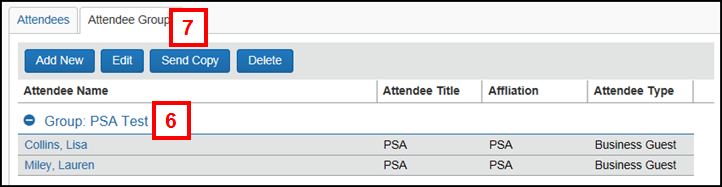
- Click Send Copy.
Note: The Send Copy button is grayed out until the group name is selected. - Enter the last name or uniqname of the individual you wish to send a copy of your group to in the Recipient field.
Note: The group can only be sent to one recipient at a time.Send Copy of Selected Group Screenshot

- Select the employee from the drop-down list.
- Click Send.