Overview
U-M Travel and Expense policies require you to submit receipts for specific expense report transactions. Concur has two options for attaching receipts to expense reports:
- Attach a single receipt image at the line level for a specific expense.
- Attach multiple receipts at the header level for the entire expense report.
Acceptable file formats are: PDF, JPG, JPEG, TIF, TIFF, and PNG files. Each file has a limit of 5MB and up to ten files can be attached to an expense report. Receipt images must be clear and legible to assist with the expense report approval process.
Additionally, there are four methods to send receipts to Concur for attachment to an expense report:
- Upload receipts on the Concur Expense Report pages.
- Fax receipts to Concur using the Concur Fax Cover Sheet.
- Email receipts to the Concur Receipt Store (Available Receipts).
- Capture receipts using Concur Mobile.
Note: Delegates creating expense reports on behalf of others should attach/fax required receipts prior to clicking Ready for Review.
This procedure describes the following tasks for managing receipts:
- Enable E-Receipts
- Upload and Attach a Receipt to an Expense Line
- Upload and Attach Receipts to the Report Header
- Email Receipts to the Receipt Store (Available Receipts)
- Capture Receipts from Concur Mobile App
- Attach Receipts from the Receipt Store (Available Receipts)
- View Receipt Images
- Delete/Detach Receipts
Important Information
As each U-M Department may have unique scanning equipment, specific instructions on scanning receipts are not provided.
Receipt requirements are located on the Procurement Services website. Your department may have receipt requirements in addition to the U-M policies. Please follow your department’s policies when submitting receipts for expenses.
This procedure assumes you are in the process of creating or submitting an expense report. For full instructions, see Create and Submit a Concur Expense Report in Concur.
Step-by-Step Process
Enable E-Receipts
E-Receipts can be received for transactions from those vendors who offer them through Concur. E-Receipts are electronic itemized receipts provided by some travel vendors that can be accepted in lieu of faxed or attached receipt files. Not all vendors provide E-Receipts. Enabling E-Receipts potentially saves you (or your delegate) time in expense report preparation.
Because E-Receipts provide itemized detail for all expenses that then becomes visible to you, your delegate, unit approvers, and U-M auditors, and is permanently recorded within the expense report; only you can authorize use of E-Receipt functionality for yourself. A delegate cannot enable E-Receipts on your behalf. E-Receipts only need to be enabled once.
To no longer receive E-Receipts for a particular credit card stored in your Travel Profile, edit the card information by un-checking the Receive e-receipts for this card box in the Credit Cards pane.
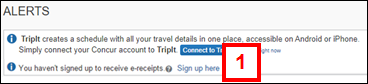
- Click Sign up here in the Alerts pane on the Concur home page.
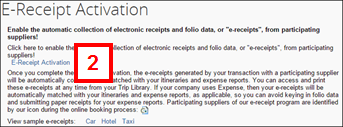
- Click E-Receipt Activation.
E-Receipt Activation Screenshot
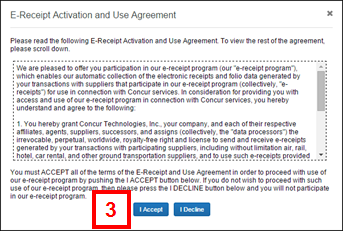
- Click I Accept.
E-Receipt Activation and Use Agreement Screenshot
- Review the E-Receipt Activation confirmation message verifying that you have signed up to receive E-Receipts.
Upload and Attach a Receipt to an Expense Line
You (or your delegate) can upload a scanned receipt image for an expense line in a report by either opening the expense line to attach the receipt or attaching the receipt in the expense pane.
Attach a receipt by opening the expense line:
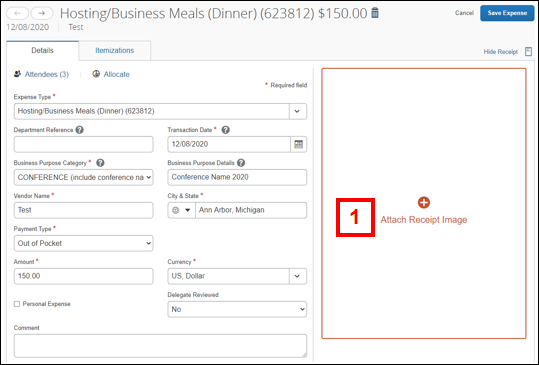
- Open the expense line and click Attach Receipt Image.
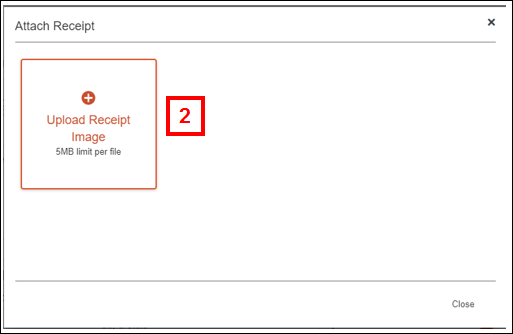
- Click Upload Receipt Image.
- Select a receipt file and click Open.
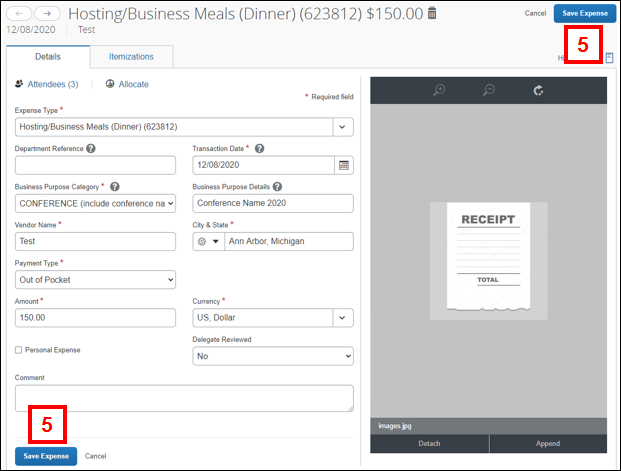
- The receipt will appear next to the expense.
- Click Save Expense.
- Repeat steps 1 – 5 for each line requiring a receipt.
Note: A mini image of the receipt will appear next to the Payment Type on the line level so that you are aware a receipt was attached to this expense.
Attach a receipt to a line in the Expense Pane:
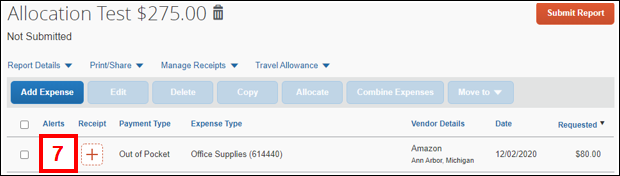
- Click
 to attach a receipt to the line level of an expense line.
- Click Upload Receipt Image.
- Select a receipt file and click Open.
- Verify the receipt is attached to the expense line. An image of the receipt will appear next to the Payment Type.
Upload and Attach Receipts to the Report Header
You (or your delegate) can upload one or more scanned receipt images to the expense report. These images are applied to the report header instead of a specific line.
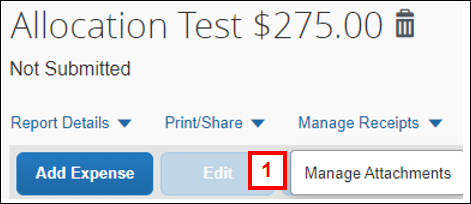
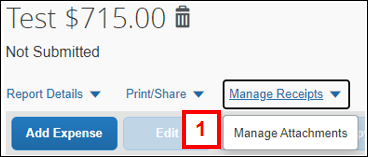
- Select Manage Attachments from the Manage Receipts drop-down list.
Expense Report Header Screenshot
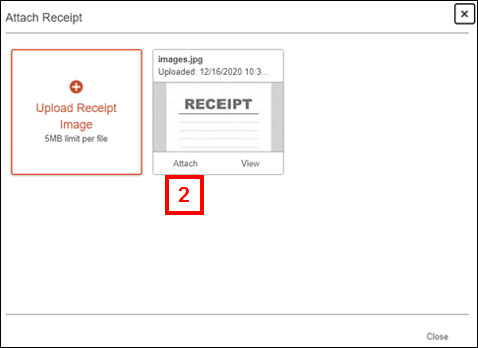
- Click Upload Report Level Attachment.
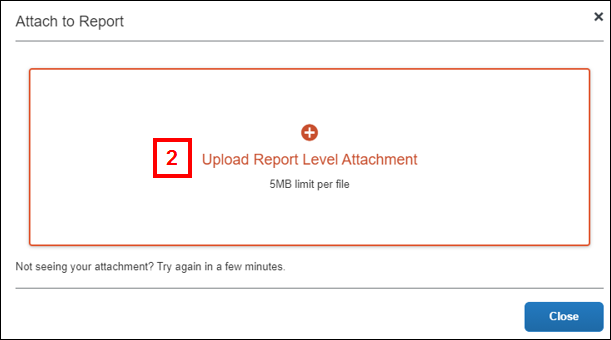
- Select a receipt file and click Open.
- Click Append to attach additional receipts. Repeat this step for each receipt you need to attach.

- Close the receipt pop-up and to return to the report.
Email Receipts to the Receipt Store (Available Receipts)
Register your email address(es) with Concur to submit receipt images and store them in your Receipt Store (Available Receipts). The receipt images can then be attached to an expense report at the line level.
- Receipts can be emailed to Concur from a mobile phone with the captured image. A mobile app is not required for this functionality.
- Delegates cannot email receipts to Concur on your behalf. However, they can attach images you’ve emailed to your Receipt Store (Available Receipts) to an expense report on your behalf and upload images stored in a network folder to your Receipt Store (Available Receipts).
Verifying Your Email Address
- Click Profile.
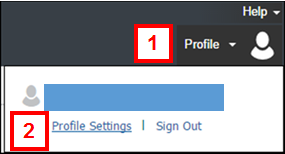
- Click Profile Settings.
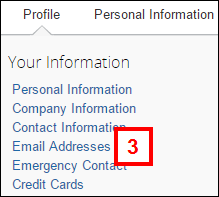
- Click Email Addresses.
- Verify your University of Michigan email address defaults in the Email 1 field.
Notes:- If desired, add another email address that you might use to send receipts to Concur by clicking Add an email address.
- Do not add the email address of your delegate.
My Profile - Email Addresses Screenshot
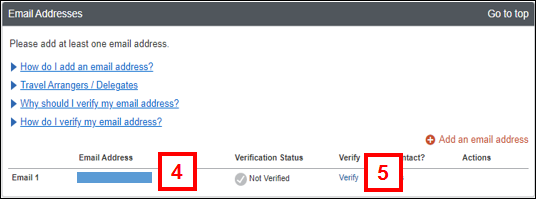
- Click Verify to receive an email with your Verification Code.
- Click OK.
Verification Email Sent Screenshot
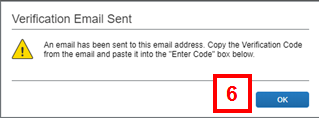
- Open the email confirmation message to copy the Verification Code.
- Enter your Verification Code in the Enter Code field.
My Profile - Email Addresses Screenshot

- Click OK.
- Click Save.
- Click OK.
Email Verification Status Screenshot
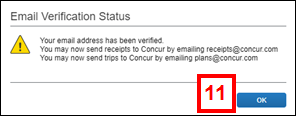
- Verified will display next to your email address and indicates you can now send receipt(s) to the Receipt Store (Available Receipts) through receipts@concur.com.
Email Your Receipts
To email receipts, send an email with the receipt(s) as an attachment(s) to receipts@concur.com (Employee only). Click Refresh in Receipt Store (Available Receipts) to update the display with added receipt images.
Note: In addition to the acceptable file formats listed above in the Overview, you can also email image attachments in HTML format.
Capture Receipts from Concur Mobile App
Take a picture of your receipt(s) using the Concur app on a mobile device. Receipts will automatically be uploaded to your Receipt Store as available receipts for assignment to expense reports by you or your delegate. To use this feature, you will need to download and register the Concur mobile app.
Note: With the Concur mobile app, users are able to use the ExpenseIt feature. This feature enables you to take a picture of a receipt on your iPhone or Android mobile device and automatically create an expense line. Please be sure to complete the verify email steps above to use this feature.
- Click Profile.
- Click Profile Settings.
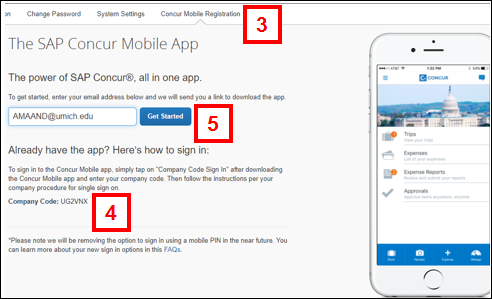
- Click Concur Mobile Registration.
- Note the Company Code.
- Download the app from the app store or click Get Started.
In the Concur mobile app:
- Click Company Code Sign In.
- Enter the Company Code.
- Click Next.
- Enter your uniqname and UMICH password.
- Click Log In.
- Click Expenses.
- Click Profile Settings.
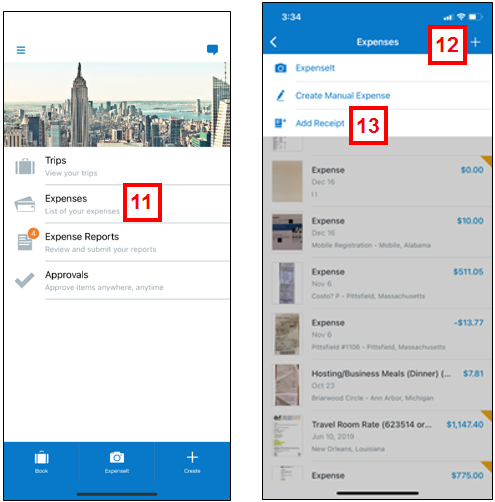
- Click the +.
- Click Add Receipt.
- Select Camera if you want to take a picture of the receipt now,
OR
Select From Library if you have already taken the picture and saved it in your phone.
- The receipt will appear in your Expenses list and show the date it was uploaded. This receipt will now appear in your Available Receipts when you view Concur on a computer.
Notes:- A PCard expense may not appear on a mobile device for two to three days.
- These screenshots are from an iPhone and the layout may look different on an Android.
Attach Receipts from the Receipt Store (Available Receipts)
This part of the procedure shows accessing Receipt Store (Available Receipts) from an expense report.
- Click
 to attach a receipt to the line.

- Click Attach on the applicable receipt image.
Notes:- The Available Receipt pop-up displays all images emailed/uploaded to your Receipt Store.
- For a larger view of the imaged receipt, click View.
- Verify the receipt is attached to the expense line. An image of the receipt will appear next to the Payment Type.
- If applicable, repeat steps 1 – 3 for each line that requires a receipt.
View Receipt Images
Concur offers multiple ways for you, your delegate, and the report approver(s) to view the receipts attached to the expense report.
Receipts Attached at Report Header
- Click Manage Attachments from the Manage Receipts drop-down list.
Expense Report Header Screenshot
- Review the receipt(s).
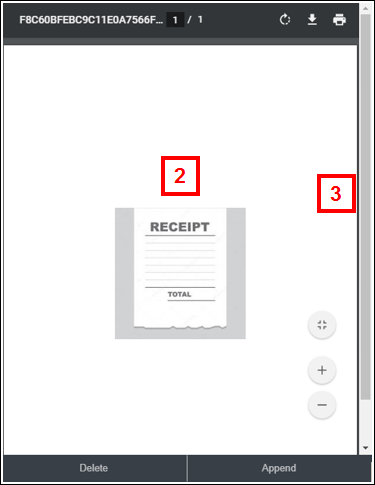
- If multiple receipts are attached to the report header, scroll or page through to view each receipt.
- Click Close to exit the PDF window.
Receipts Attached at Expense Line
- Click the image of the receipt next to the Payment Type.

- Review the receipt.
- Click Close to exit the PDF window.
- Repeat steps 1 – 3 for each line, as applicable.
- If you open a specific expense line, you can also view an attached receipt on the right side of the screen next to the Expense Details.
Delete/Detach Receipts
Delete receipts that have been added incorrectly on an un-submitted expense report or an expense report that has been recalled or returned by an approver.
- Only employees can recall their expense reports; delegates and/or approvers are unable to do this on their behalf.
- Once expense reports have a status of extracted for payment, they can no longer be recalled. Receipts can still be added after this point, but cannot be deleted.
Receipts Attached at Report Header
- Click Manage Attachments from the Manage Receipts drop-down list.
Expense Report Header Screenshot
- Click Delete.
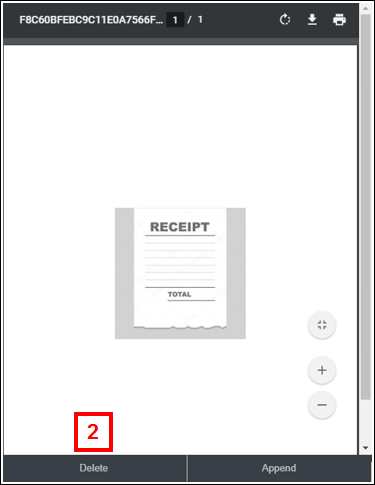
- Click Delete on the Confirm Delete pop-up.
Note: If multiple receipts are attached to the expense report header, you cannot select an individual file. All receipts attached to the expense report header will be deleted and you will have to reattach any required receipts.
Receipts Attached at Expense Line
- Click the image of the receipt next to the Payment Type.
- Click Detach to remove the attached receipt.
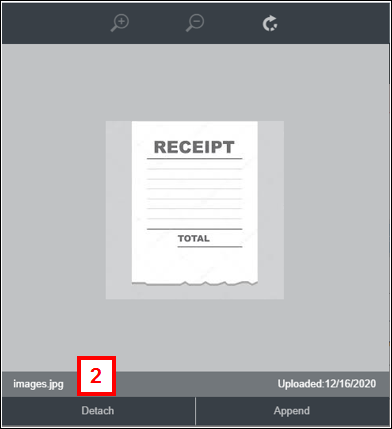
- Click Yes on the Please Confirm pop-up box.
Note: A receipt image deleted from an expense line returns to the Receipt Store, even if you originally uploaded the receipt from a network drive.