Overview
U-M requires you to submit your own expense reports. If a delegate prepares reports on your behalf, follow this five-step process to review your expense report and submit it.
Step-by-Step Process
Open the Expense Report
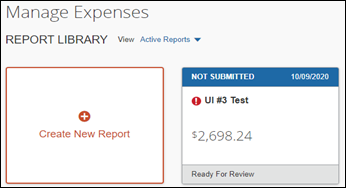
Reports can be located on the Manage Expenses page.
- Click on the report in the Active Reports pane to open.
- When a delegate has finished creating an expense report, they mark the report as Ready to Review. A system-generated email is sent when an expense report is available for submission.
Manage Expenses Page Screenshot
Review the Expense Report Line(s)
Reports created by a delegate need to be reviewed prior to submission.- Review all lines in a Concur Expense Report by clicking on each expense line.
OR
Select one of the U of M Detailed Reports from the Print/Share drop-down list.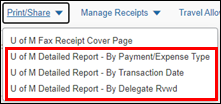
- For each expense line:
- Verify the Shortcode(s) is appropriate for the expense (Allocations).
- Review any line Comment (explanations of out-of-policy transactions, additional transaction details, etc.).
- Verify the following totals, as appropriate:
- Company Pays Employee (reimbursement)
- Employee Pays Company (personal expenses – amount you owe to U-M to be deducted from your next paycheck)
- Company Pays Card - MasterCard Corporate Card (PCard Expenses)
- Notify the delegate if any changes to the report are required.
Review the Required Receipts
- Verify the delegate has submitted the required receipts for the expense report.
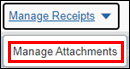
- Select Manage Attachments from the Manage Receipts drop-down list to review the attached receipts.
- You can scroll through multiple receipts to verify that the receipt image(s) are applicable to the expense line(s) and legible.
- If the receipt image(s) are inaccurate or illegible, notify the delegate.
Submit the Expense Report
- Click Submit Report from within the report.
Expense report submission includes four pages:
- The Employee Attestation pane attests that the employee has not received and will not receive reimbursement from any other source for these expenses and that any personal transactions will be payroll deducted. Click Accept & Continue.

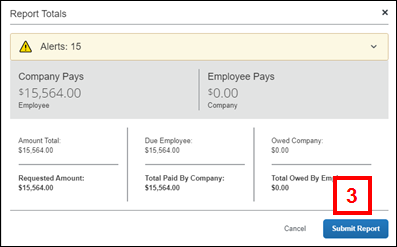
- The Report Totals pane confirms the amounts claimed in the expense report. Click Submit Report.
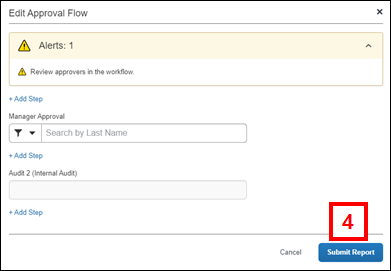
- The Edit Approval Flow pane provides the opportunity to add additional approvers, if applicable. If a default approver exists, the Manager Approval field populates. To add additional approvers, see Apply Additional Approvers below. Once the appropriate approvers have been entered, click Submit Report.
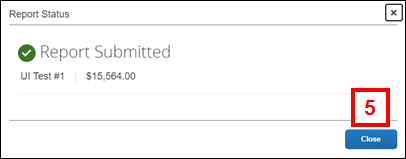
- The Report Status page confirms that the report has been submitted for approval. Click Close.
Apply Additional Approvers (optional)
If a department requires multiple approvers for expense reports, additional approvers can be defined as the report is submitted.
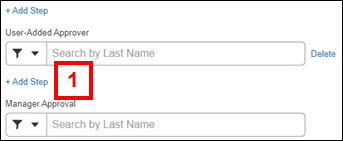
On the Edit Approval Flow pane, while submitting the report, additional approvers can be added before the default approver or after the default approver.
- Click + Add Step above Manager Approval to add an approver before the default approver.
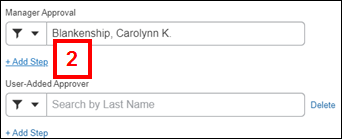
- Click + Add Step under Manager Approval to add an approver after the default approver.
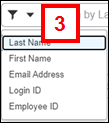
- To search for approvers to add, click the drop-down.
- Search for the approver using available information (e.g. Last Name, First Name, Email Address, Login ID (uniqname), Employee ID).
- Select the appropriate approver.
- After the Approval Flow is complete, click Submit Report.
Note: The approval flow can also be edited before prior to submitting the report by going to Report Timeline in the Report Details menu.