Overview
This procedure details how to set-up Game Day Events in the Donor & Alumni Relationship Tool (DART).
You must have both the DART Events Management and Game Day Events Processing roles to perform these tasks.
Important Information
- This set-up is done once at the beginning of each season.
- Each category of event must have its own event shell which must be set up following this process.
- For each football game, you could possibly have 6 event shells:

Tip: Event Planners must use the Game Day Event Module in order to maintain event visibility and transparency for all users. This allows MGO’s to see what is happening with their donors. For example: Has another MGO put in a request for this donor to go to the same game? If so, this allows the MGO to make another selection or have a conversation with the other requestor. If MGO’s cannot see these requests in DART, it could hinder their decision making process.
Naming Conventions: To maintain the integrity of the information found in DART, naming conventions have been established for Game Day Event Names:
(SCU)_(Event Type)_(Game)_(Game Date)_(FY or CY XX)
- SCU = School, College or Unit Acronym - OUD
- Event Type = Tickets, Tailgate, Parking, PresSuite, RGA
- Game = Name of opponent (e.g., OSU, Illinois, Indiana)
- Game Date = Date of game (e.g., 9/27)
- FY or CY XX = The Fiscal or Calendar year the event is being held.
Examples:
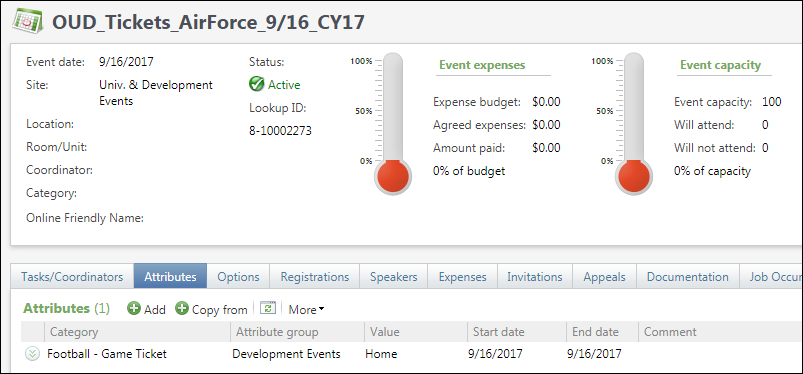
- OUD_Tickets_AirForce_9/16_CY17)
- OUD_PresSuite_Miami_9/13_CY15
Step-by-Step Process
Build the Shell Event
- Click the Events drop-down arrow.
- Click Add an Event.
- The
Add an event
window opens.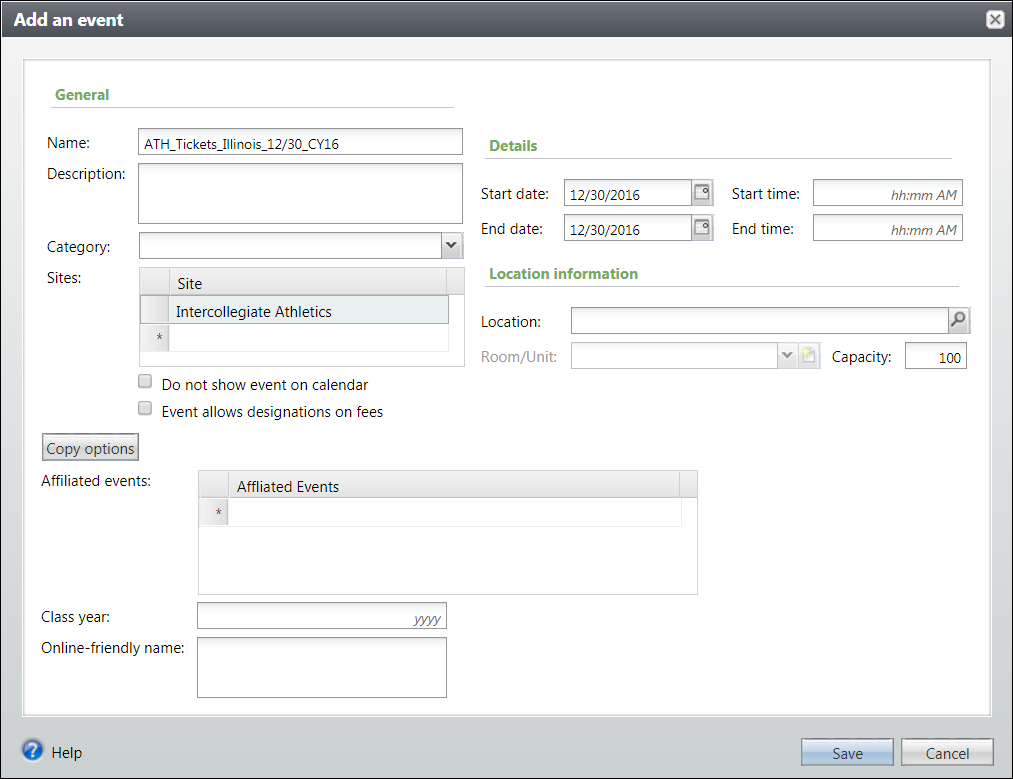
- Enter the event Name.
- Enter the Site associated with the event, if applicable.
- Enter the Start date and End date.
- For Event Types of Tickets only: Enter the number of tickets available in the Capacity field.
- Click Save.
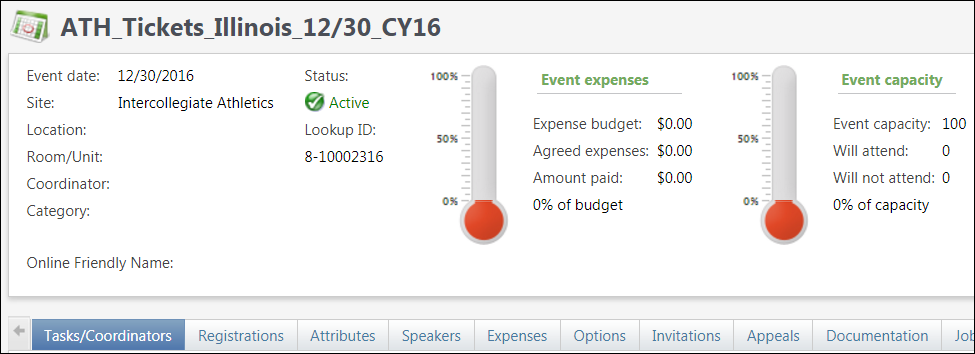
- The Event shell is created.
Note: At minimum, each event shell must contain a name and a start date.
Enter Options
Note: Options MUST be entered for all event types for two reasons:
- Options are necessary to reconcile Game Day fees.
- Options are necessary to allow game(s) to be moved to the View Game Day History tab.
- Click the Options tab.
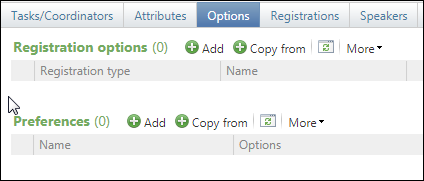
- Click Add in the Registration options section.
Note: If desired, instead of adding new registration options, you may Copy from another event.
- The
Add a registration option
window opens.Add a Registration Option Window Screenshot

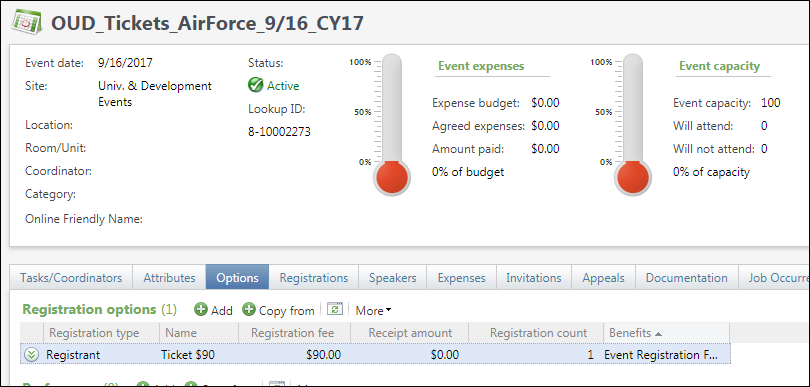
- Select Registrant from the Registration type drop-down list. (required)
- Enter the Name of the registration option. (required)
Note: Name is the level of registrant. For example, football tickets may have a name of Ticket $70 or Ticket $90 and tailgates may have a name of Tailgate $40. Each Name must be entered individually.
- The Registration count defaults to one.
- Enter the Registration fee amount, if applicable. This is the price a constituent pays to attend an event. If no fee is charged, keep the default of $0.
Note: Registration fees are tracked in the Benefits section shown below. The Benefits total value must be equal to the Registration fee to complete this section properly. If these amounts do not match you will not be able to save and move on.
- In the Benefits section, enter the Fees associated with this Registration Option, if a Registration Fee is being charged.
- Hover your mouse over the Benefit field and click the Lookup (magnifying glass) that displays. Search for and select Event Registration Fee.
- Enter the Quantity if different from the default of one.
- Enter the Unit value equal to the Registration Fee.
- Click Save.
Note: The Receipt amount must be zero ($0.00) to leave this screen.
Enter Attribute
Note: An attribute MUST be added in order for the event to display in the Game Day Event Request form.
- Click the Attributes tab.
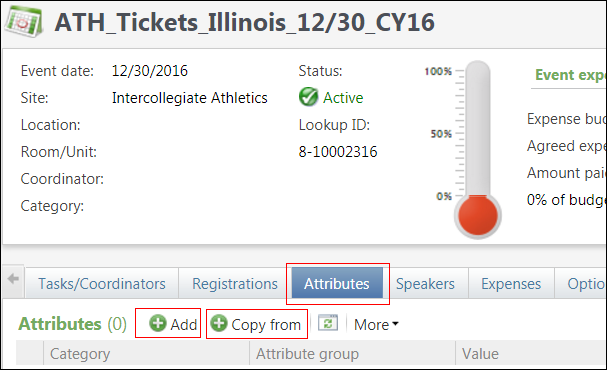
- Click Add.
Note: If you have already set up similar attributes, you can use the Copy from function to copy over the attribute from another event shell.
- The Add event attribute window opens.
Add event attribute Screenshot
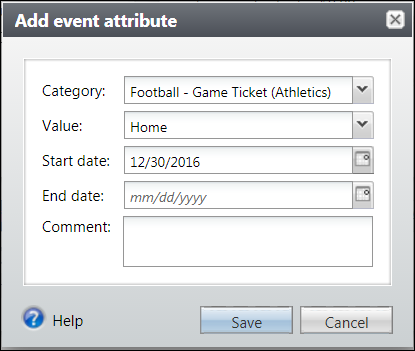
- Select the applicable Category.
- Select the applicable Value, either Home or Away.
- Enter the Start date and End date. (optional)
- If applicable, add a Comment. (optional)
- Click Save.
- The Attribute displays. Adding this attribute allows the event to display in the Game Day Event Request form.
- The Game Day Event Set-up is complete.
Tip: You can set up your event shells as soon as you know the game schedules and then come back and add the attribute when you want the game to display in the Game Day Event Request form.