Overview
This procedure describes how to:
Important Information
- Data in the report header or footer does not convert to Excel.
- Edit report tab names that contain more than 31 characters or any of the following characters: space, colon (:), backslash (\), forward slash (/), question mark (?), asterisk (*), left bracket([) and right bracket (]). Report names with these characters may not convert properly.
Format a Report for Export
To avoid extra columns and rows in the Excel file, follow these steps before exporting a report.
Notes:
- These instructions use the Properties Panel to access functions. You can also click on the report/table, then right-click to select the needed option, click Format Report/Table and select the function.
- To retain a copy of the original report, right-click or click the More Report Actions drop-down arrow on the report tab and select Duplicate. Make your changes to the duplicate.
- Open the report and verify Design is selected in the upper right-hand corner.
- If the report is in Reading mode, click the Reading button to toggle to Design.
- If the report includes title cells, do the following:
- Right-click on a title.
- Select Delete.
- Repeat for each title cell.
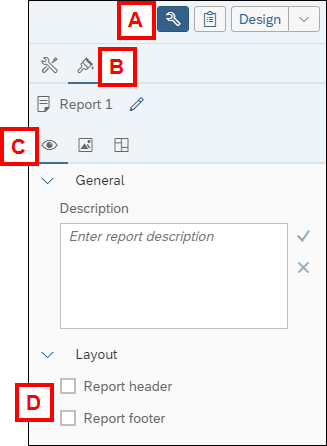
- If the report includes a header and/or footer, do the following with nothing selected in the report:
- Click the Properties Panel icon
 to open the panel.
 - Click the Report Element Format icon
 to open the tab.
 - Click the Display Settings icon
 to open the tab.
 - Uncheck the Report header and Report footer box(es).
- Click the Properties Panel icon
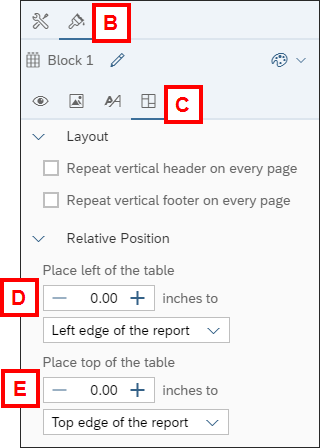
- To align the table at the top of the page, do the following:
- Click the table once to select it.
- If the Properties panel is not open, click the Properties Panel icon , then the Report Element Format icon .
- Click the Layout Settings icon
 to open the tab.
 - Edit the Place left side of the table field to 0 inches.
- Edit the Place top of the table field to 0 inches.
Export the Report
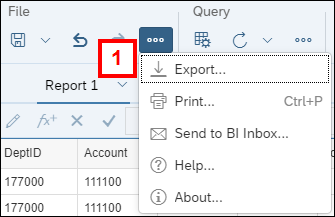
- Click the More three-dot menu in the File section of the toolbar and select Export.
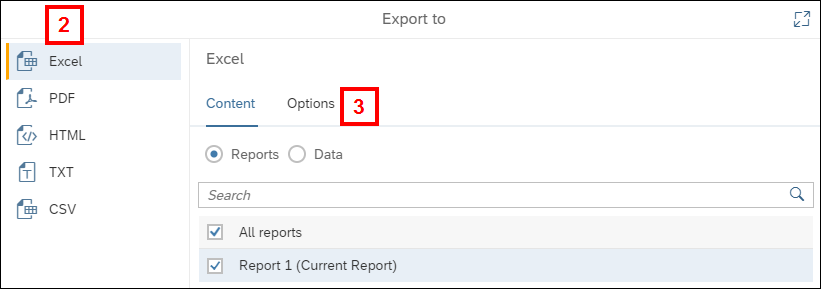
- Click the export format:
- Excel
- HTML - exports a .zip file
- TXT
- CSV - exports a .zip file
- Configure all settings on the Content and Options tabs.
- The settings differ based on the export format selected. These control options such as pages to export and delimiter values.
- Click Export. Reports are automatically downloaded and saved in your browser's default download location.